
苹果电脑开始使用 HiDPI 屏幕(也称 Retina 屏幕)的时间可以追溯到 2012年6月11日,这是苹果首次推出 Retina MacBook Pro 的日期。而2014年的iMac Retina 5K,更是将桌面电脑的的层次带上了5k级别,分辨率达到了5120×2880。当时网上还一度流传出了名句:买iMac相当于是买屏幕送电脑啊! 自此,桌面电脑开始进入Retina时代。还记得当时第一次接触时给这个屏幕给惊艳了,显示极为细腻,可以用赏心悦目来形容。 任何一个接触过Retina显示器的朋友应该都无法再回到没有高分辨率的显示器了。哪怕是用回windows,也只能用高分辨率来放大显示了。 当时第三方显示器普遍还停留在1600×900或是1080p的低分辨率阶段。那时的mac外接屏幕还没有开户hiDPi的说法。后来的2.5k显示器出来,消费者才意识到在MacOS上开启hiDPi的重要性,那在视觉效果上可谓是提升了一个档次。 DPI 是 Dots Per Inch 的缩写,意为“每英寸点数”。越大,表示像素点越密。在人眼中感觉就越细腻清晰。但MacOS并不是支持你在任意显示器上开户hiDPi。 在 macOS 上,当你外接显示器时,系统会根据显示器的 DPI(每英寸像素密度) 决定是否启用 HiDPI(Retina 模式)。macOS 的默认行为是:当显示器的 DPI 小于 110-120(约)时,不会启用 HiDPI 模式,而是按原始分辨率进行显示。更甚者,一些不知名显示器的尺寸没有被MacOS识别,它也不会开启HiDPI模式。 那么就得用第三方的软件,或者其它方式来让MacOS开启HiDPI模式。 方式1,one-key-hidpi One-Key-HiDPI 是一个开源的 macOS 脚本工具,可以轻松在不支持 HiDPI 模式的外接显示器上强制启用 HiDPI(即“Retina 模式”),以获得更清晰的文字和图像显示效果。它托管在github上面。 特点 使用方法 完成设置后,可能需要重启 macOS 或断开并重新连接显示器。 方式2,替换系统内此显示器的配置文件 原理:当你插入显示器后,系统内会识别显示器并把显示器文件保存在硬盘上。我们通过更改这个显示器文件来让macOS认为这是一台高分辨率的显示器,并且把我们想要的分辨率告诉它,以让系统开启HiDPI模式。 步骤 1. 找到外接显示器的 displayVendorID 和 displayProductID 2. 定位显示器配置文件 在以下路径找到对应显示器的配置文件:/System/Library/Displays/Contents/Resources/Overrides/DisplayVendorID-XXXX/ 如果不存在该文件夹或文件,可以复制类似的配置文件作为模板。 3. 修改或替换配置文件 这个方式需要一定的动手能力,不适合小白操作。并且不适用于M系列的处理器。 方式3,软件Betterdisplay BetterDisplay 是一款 macOS 第三方工具,用于增强显示器的功能和管理,包括轻松启用外接显示器的 HiDPI 模式。它是 SwitchResX 的替代品,但操作更简便,界面更现代化,适合普通用户和专业用户使用。 BetterDisplay 的主要功能 它还支持虚拟显示器,显示器设置增强,和HDR与颜色支持。等等。 Betterdisplay非常适用新老用户,容易操作,也有高级设置。支持从上古Mac硬件到最新的M4系列macbook。 方式4, SwitchResX SwitchResX是一个古老的软件并且至今都有在更新。小编从2014年接触retina屏幕开始就有在第三方外接屏幕上用过这个软件了。 SwitchResX 是一个功能强大的 macOS 显示管理工具,支持自定义分辨率和开启 HiDPI 模式。 方式5,修改 EDID(显示器固件信息) 通过修改显示器的 EDID(Extended Display Identification Data) […]
Category: MacOS
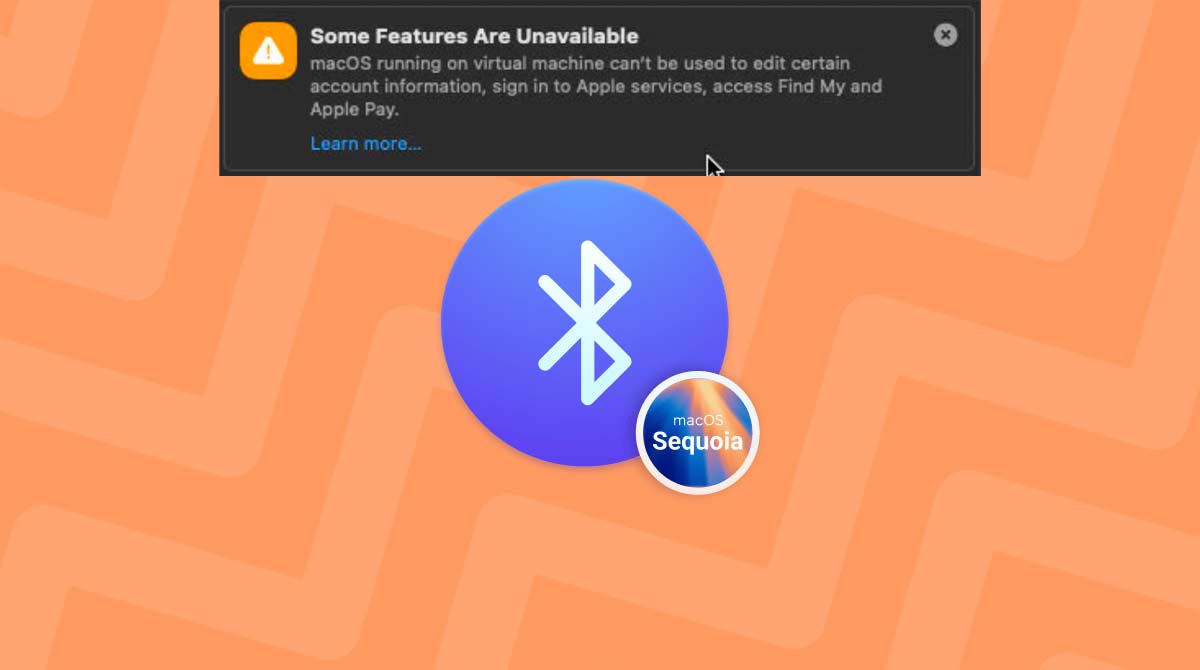
No Bluetooth or iCloud in Sonoma/Sequoia VMs
After upgrading to Sonoma or Sequoia, Bluetooth functionality is completely unavailable in VMs. But don’t worry—there’s a fix. According to this thread: https://forum.proxmox.com/threads/anyone-can-make-bluetooth-work-on-sonoma.153301/post-697832 It’s possible to use OpenCore to make macOS think, “I’m not running in a VM.” With OCC GUI: Go to Kernel -> Patch and add two new items as follows: Identifier Base […]
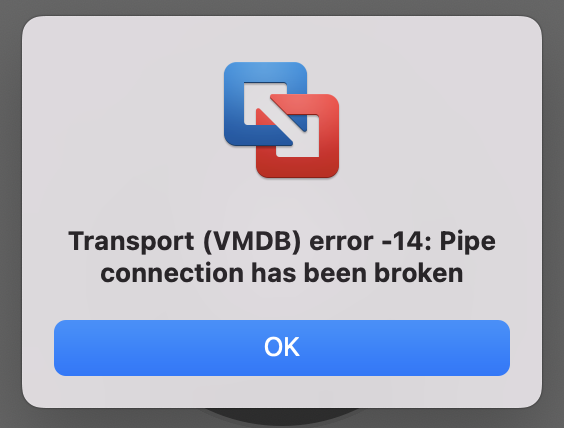
升级到macos12以上 VMware Fusion 启动虚机报错
issur 1: transport (vmdb) error -14: pipe connection has been broken. You have to Enable SIP on your macOS system. to resolve this problem. issue 2: You have to change some setting. If you have a 2013 or later Mac, and a recent version of macOS, and are running the Metal 2 3D graphics library, […]
PVE直通无线网卡进ventura秒死
It’s the linux kernel, 6.x is not support the MacOS VM to use the wifi card. 神奇的虚拟世界。
Ventura挂载系统分区写入权限,修改系统文件
Now you can change the files on the System from /Volumes/DD/Macintosh. after modification, run:
clean the System Caches
Delete all the files in /System/Library/Caches and it’s subdirectories but leave the directories and the symbolic links intact. This is very important! Reboot. Recreate the kernel cache. Reboot again.
10.15 macOS Catalina 安装第三方软件
MacOS 10.15 Catalina 的系统的安全性进一步提升。 它对第三方软件及未签名软件越来越严格。安装未签名软件时会提示文件损坏,情况之一如下图: 应该在设置里 把允许来源设置一下。然后: It a simple fix and here is how we fix it: Close System Preferences on your Mac. Open the Terminal app from the /Applications/Utilities/ folder. Type the following command syntax: For a certain application run in Terminal:sudo xattr -r -d com.apple.quarantine /path/to/Insall.app To disable checks globally run in Terminal:sudo spctl […]